
TeslaMate is an open-source tool that allows you to monitor your Tesla vehicles. It's a great tool for keeping track of your vehicle's location, battery level, and other important information. I recently bought a Model Y, and I wanted to be able to monitor the car remotely. TeslaMate also tracks drives - where you started, where you ended, and the drive efficiency - which will be a good way to track business travel.
My home lab runs Proxmox. I wanted to be able to run TeslaMate on my home network, so I set up a Docker container. Here's how I did it. (And if you find this useful, or end up buying a Tesla... use my referral code!)
Create a container
Whenever I want to deploy something in Proxmox, I start with the Proxmox VE Helper-Scripts repo. It has a collection of scripts for creating Proxmox containers.
The Docker script sets up an LXC container (Debian under the hood) with Docker installed. You can run it in the Proxmox console:
$ bash -c "$(curl -fsSL https://raw.githubusercontent.com/community-scripts/ProxmoxVE/main/ct/docker.sh)"This sets up a new container called docker. It also has docker compose installed by default.
Better defaults
The LXC container that Proxmox creates is called docker. This isn't super helpful when running multiple containers in the same Proxmox instance. Each LXC container has a configuration file in /etc/pve/lxc/<id>.conf, named after the container ID. Let's modify the file for our docker container:
arch: amd64
cores: 2
features: keyctl=1,nesting=1
# Rename the container to something more useful
hostname: teslamate
memory: 2048
net0: name=eth0,bridge=vmbr0,hwaddr=BC:24:11:85:3B:B5,ip=dhcp,type=veth
onboot: 1
ostype: debian
rootfs: local-lvm:vm-105-disk-0,size=4G
swap: 512
tags: community-script;docker;tailscale
unprivileged: 1
4G is tight once the database starts growing. I'd give it 8–16G.
Restart the container inside of the Proxmox UI before continuing.
Configuring the container
Inside of the container, I set up a new directory for TeslaMate:
$ mkdir -p /etc/teslamateI set up a docker-compose.yml file in that directory:
services:
  teslamate:
    image: teslamate/teslamate:latest
    restart: always
    environment:
      - ENCRYPTION_KEY=ENCRYPTION_KEY
      - DATABASE_USER=teslamate
      - DATABASE_PASS=mysecurepassword
      - DATABASE_NAME=teslamate
      - DATABASE_HOST=database
      - MQTT_HOST=mosquitto
    ports:
      - 4000:4000
    volumes:
      - ./import:/opt/app/import
    cap_drop:
      - all

  database:
    image: postgres:17
    restart: always
    environment:
      - POSTGRES_USER=teslamate
      - POSTGRES_PASSWORD=mysecurepassword
      - POSTGRES_DB=teslamate
    volumes:
      - teslamate-db:/var/lib/postgresql/data

  grafana:
    image: teslamate/grafana:latest
    restart: always
    environment:
      - DATABASE_USER=teslamate
      - DATABASE_PASS=mysecurepassword
      - DATABASE_NAME=teslamate
      - DATABASE_HOST=database
    ports:
      - 3000:3000
    volumes:
      - teslamate-grafana-data:/var/lib/grafana

  mosquitto:
    image: eclipse-mosquitto:2
    restart: always
    command: mosquitto -c /mosquitto-no-auth.conf
    # ports:
    #   - 1883:1883
    volumes:
      - mosquitto-conf:/mosquitto/config
      - mosquitto-data:/mosquitto/data

volumes:
  teslamate-db:
  teslamate-grafana-data:
  mosquitto-conf:
  mosquitto-data:
Obviously, change the ENCRYPTION_KEY and DATABASE_PASS values to something secure. Each instance of mysecurepassword needs to be the same password - these services are all connecting to the same database.
The official compose file now uses postgres:18. If you upgrade an existing install, the volume mount moves from /var/lib/postgresql/data to /var/lib/postgresql, and you'll need to dump and restore your data, since swapping the tag alone won't migrate it.
TeslaMate is basically a collection of services - the database, a web server/UI, an MQTT broker, and a Grafana instance.
Starting up TeslaMate
Now we can start up the containers:
$ docker compose up -dYou can connect to the TeslaMate UI at http://<your-container-ip>:4000.
The Grafana UI contains most of the metrics you'll want to look at, as well as default dashboards. You can connect to it at http://<your-container-ip>:3000. When you first login, you'll need to change the password. The default login is admin / admin.
Authenticating with Tesla
You'll need to generate Tesla API tokens. On macOS, I used TeslaAuth to do this. It's a CLI you can run locally that spins up a browser window and lets you log in to your Tesla account. Once you've authenticated, it will print out access and refresh tokens. You can paste that into TeslaMate to allow it to connect to your car via Tesla's API. On iOS, the Auth app for Tesla does the same thing.
Set up Tailscale
If we want to access the TeslaMate UI from outside of our network, we need to set up Tailscale. This is easy with this add-tailscale-lxc script. Run this in the Proxmox console (not the LXC container), and select the teslamate container.
$ bash -c "$(curl -fsSL https://raw.githubusercontent.com/community-scripts/ProxmoxVE/main/tools/addon/add-tailscale-lxc.sh)"Once Tailscale is set up, restart the LXC container and jump back into its console. Then authenticate with:
$ tailscale upOnce you've authenticated to your Tailscale network, you can access the TeslaMate UI easily from any other machine in your Tailscale network: http://teslamate:4000 or http://teslamate:3000.
TeslaMate doesn't have any authentication of its own, so don't expose it to the internet. Tailscale keeps it private.
Dashboards
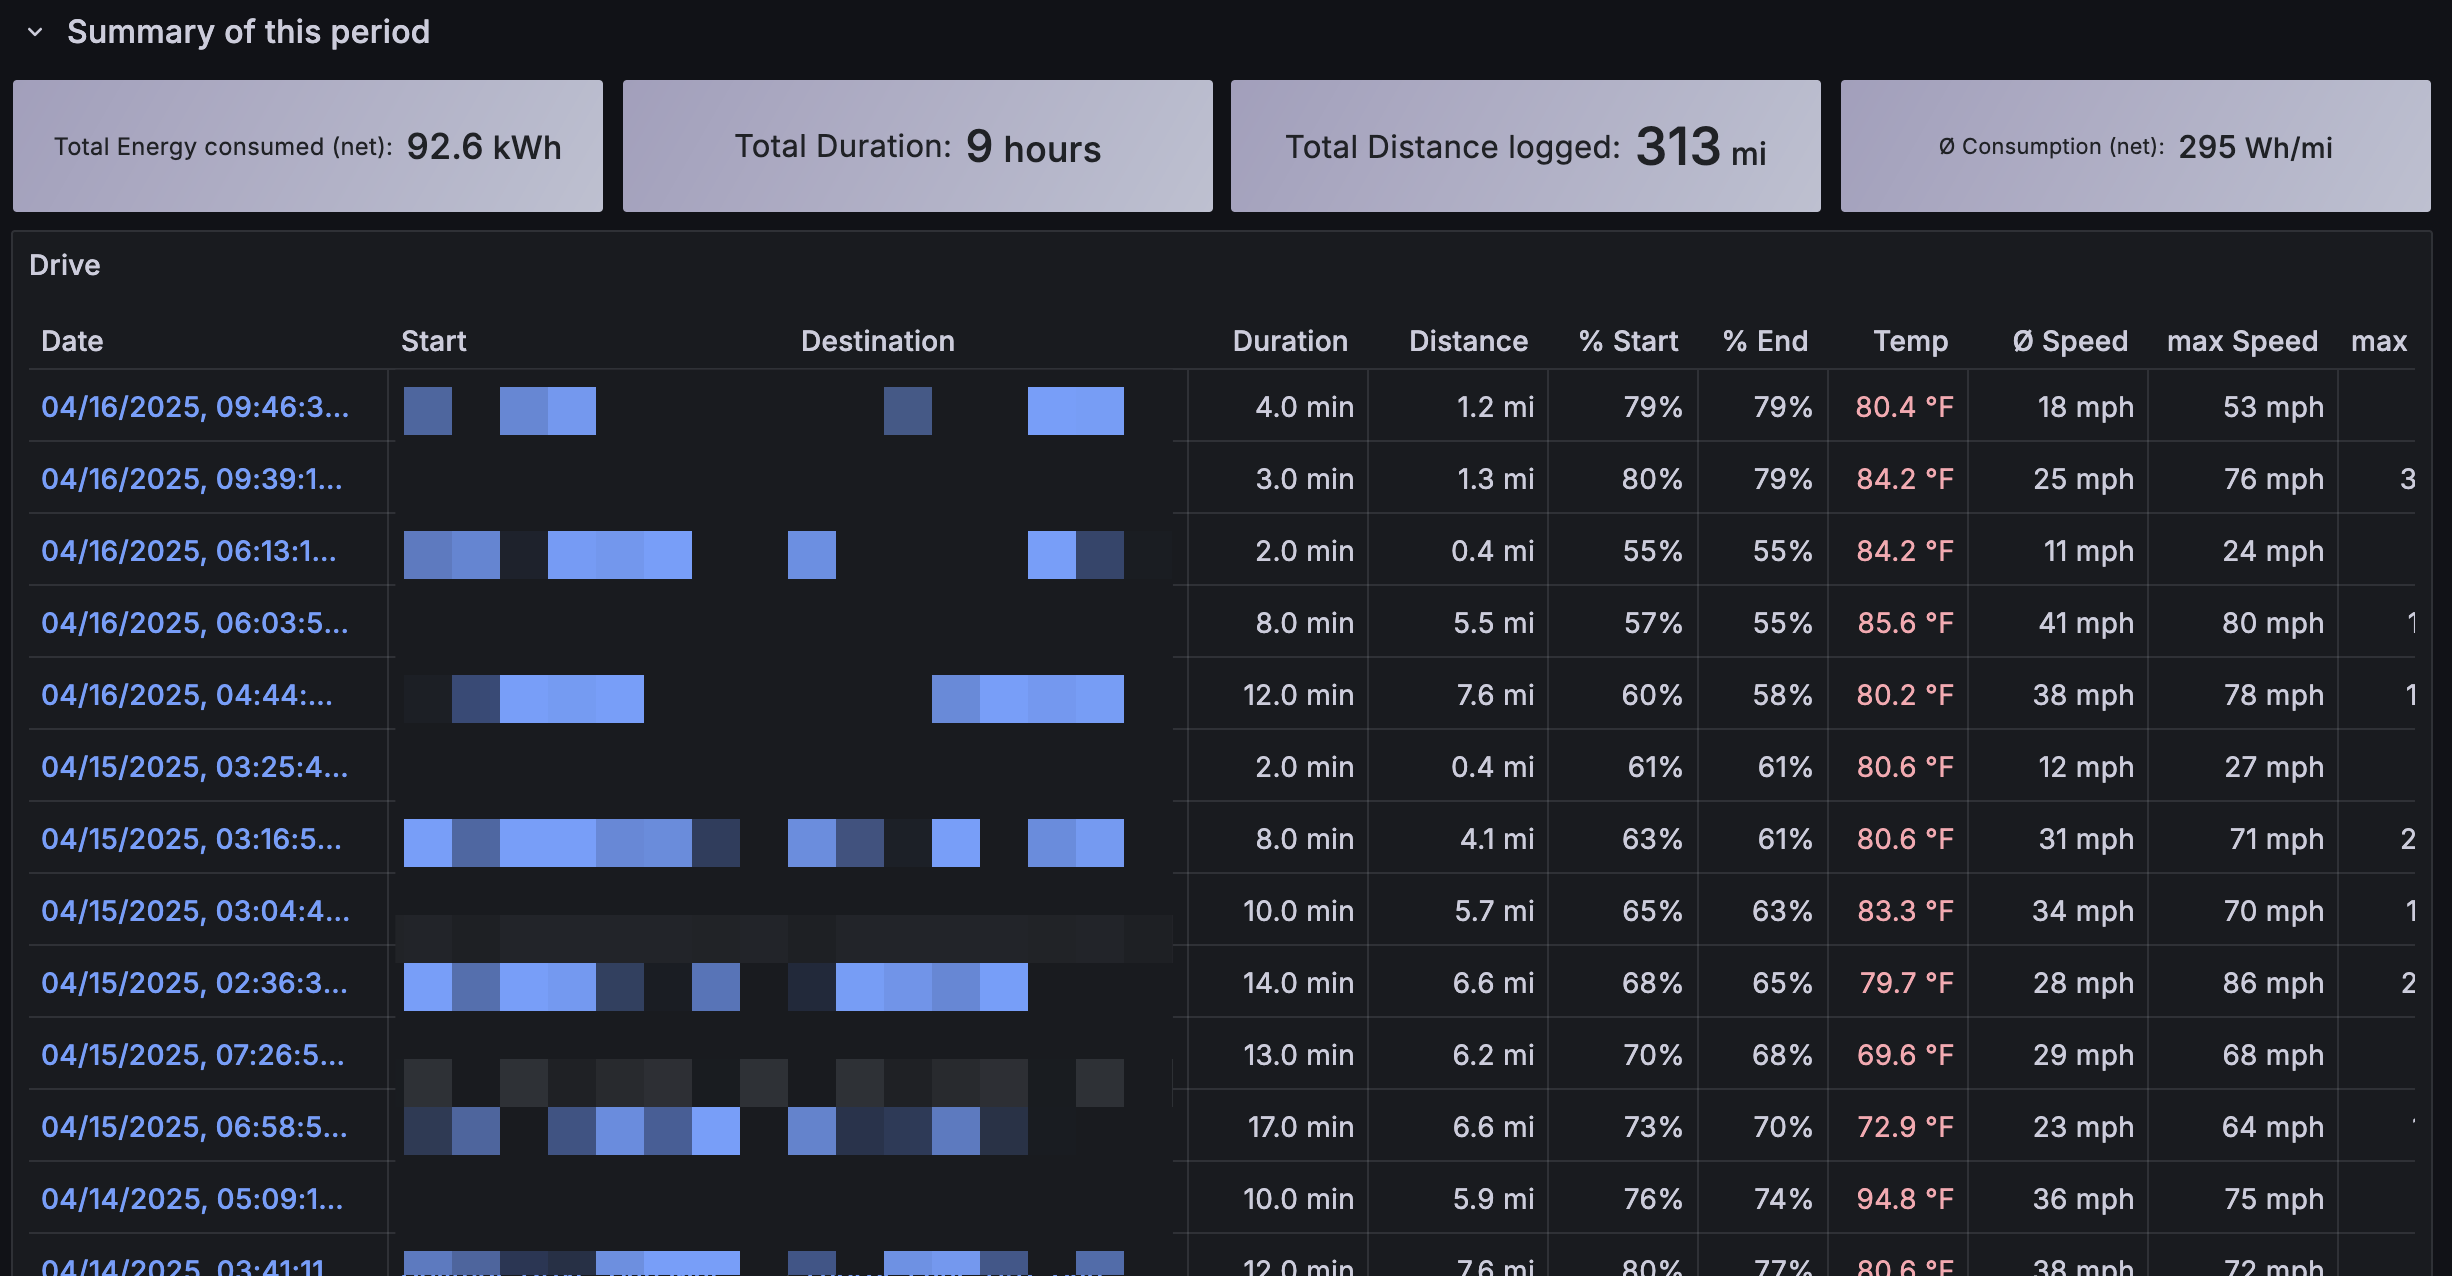
There's a ton of info in the default dashboards set up by TeslaMate. The "Drives" one is a good example, showing every drive I've taken in my car:
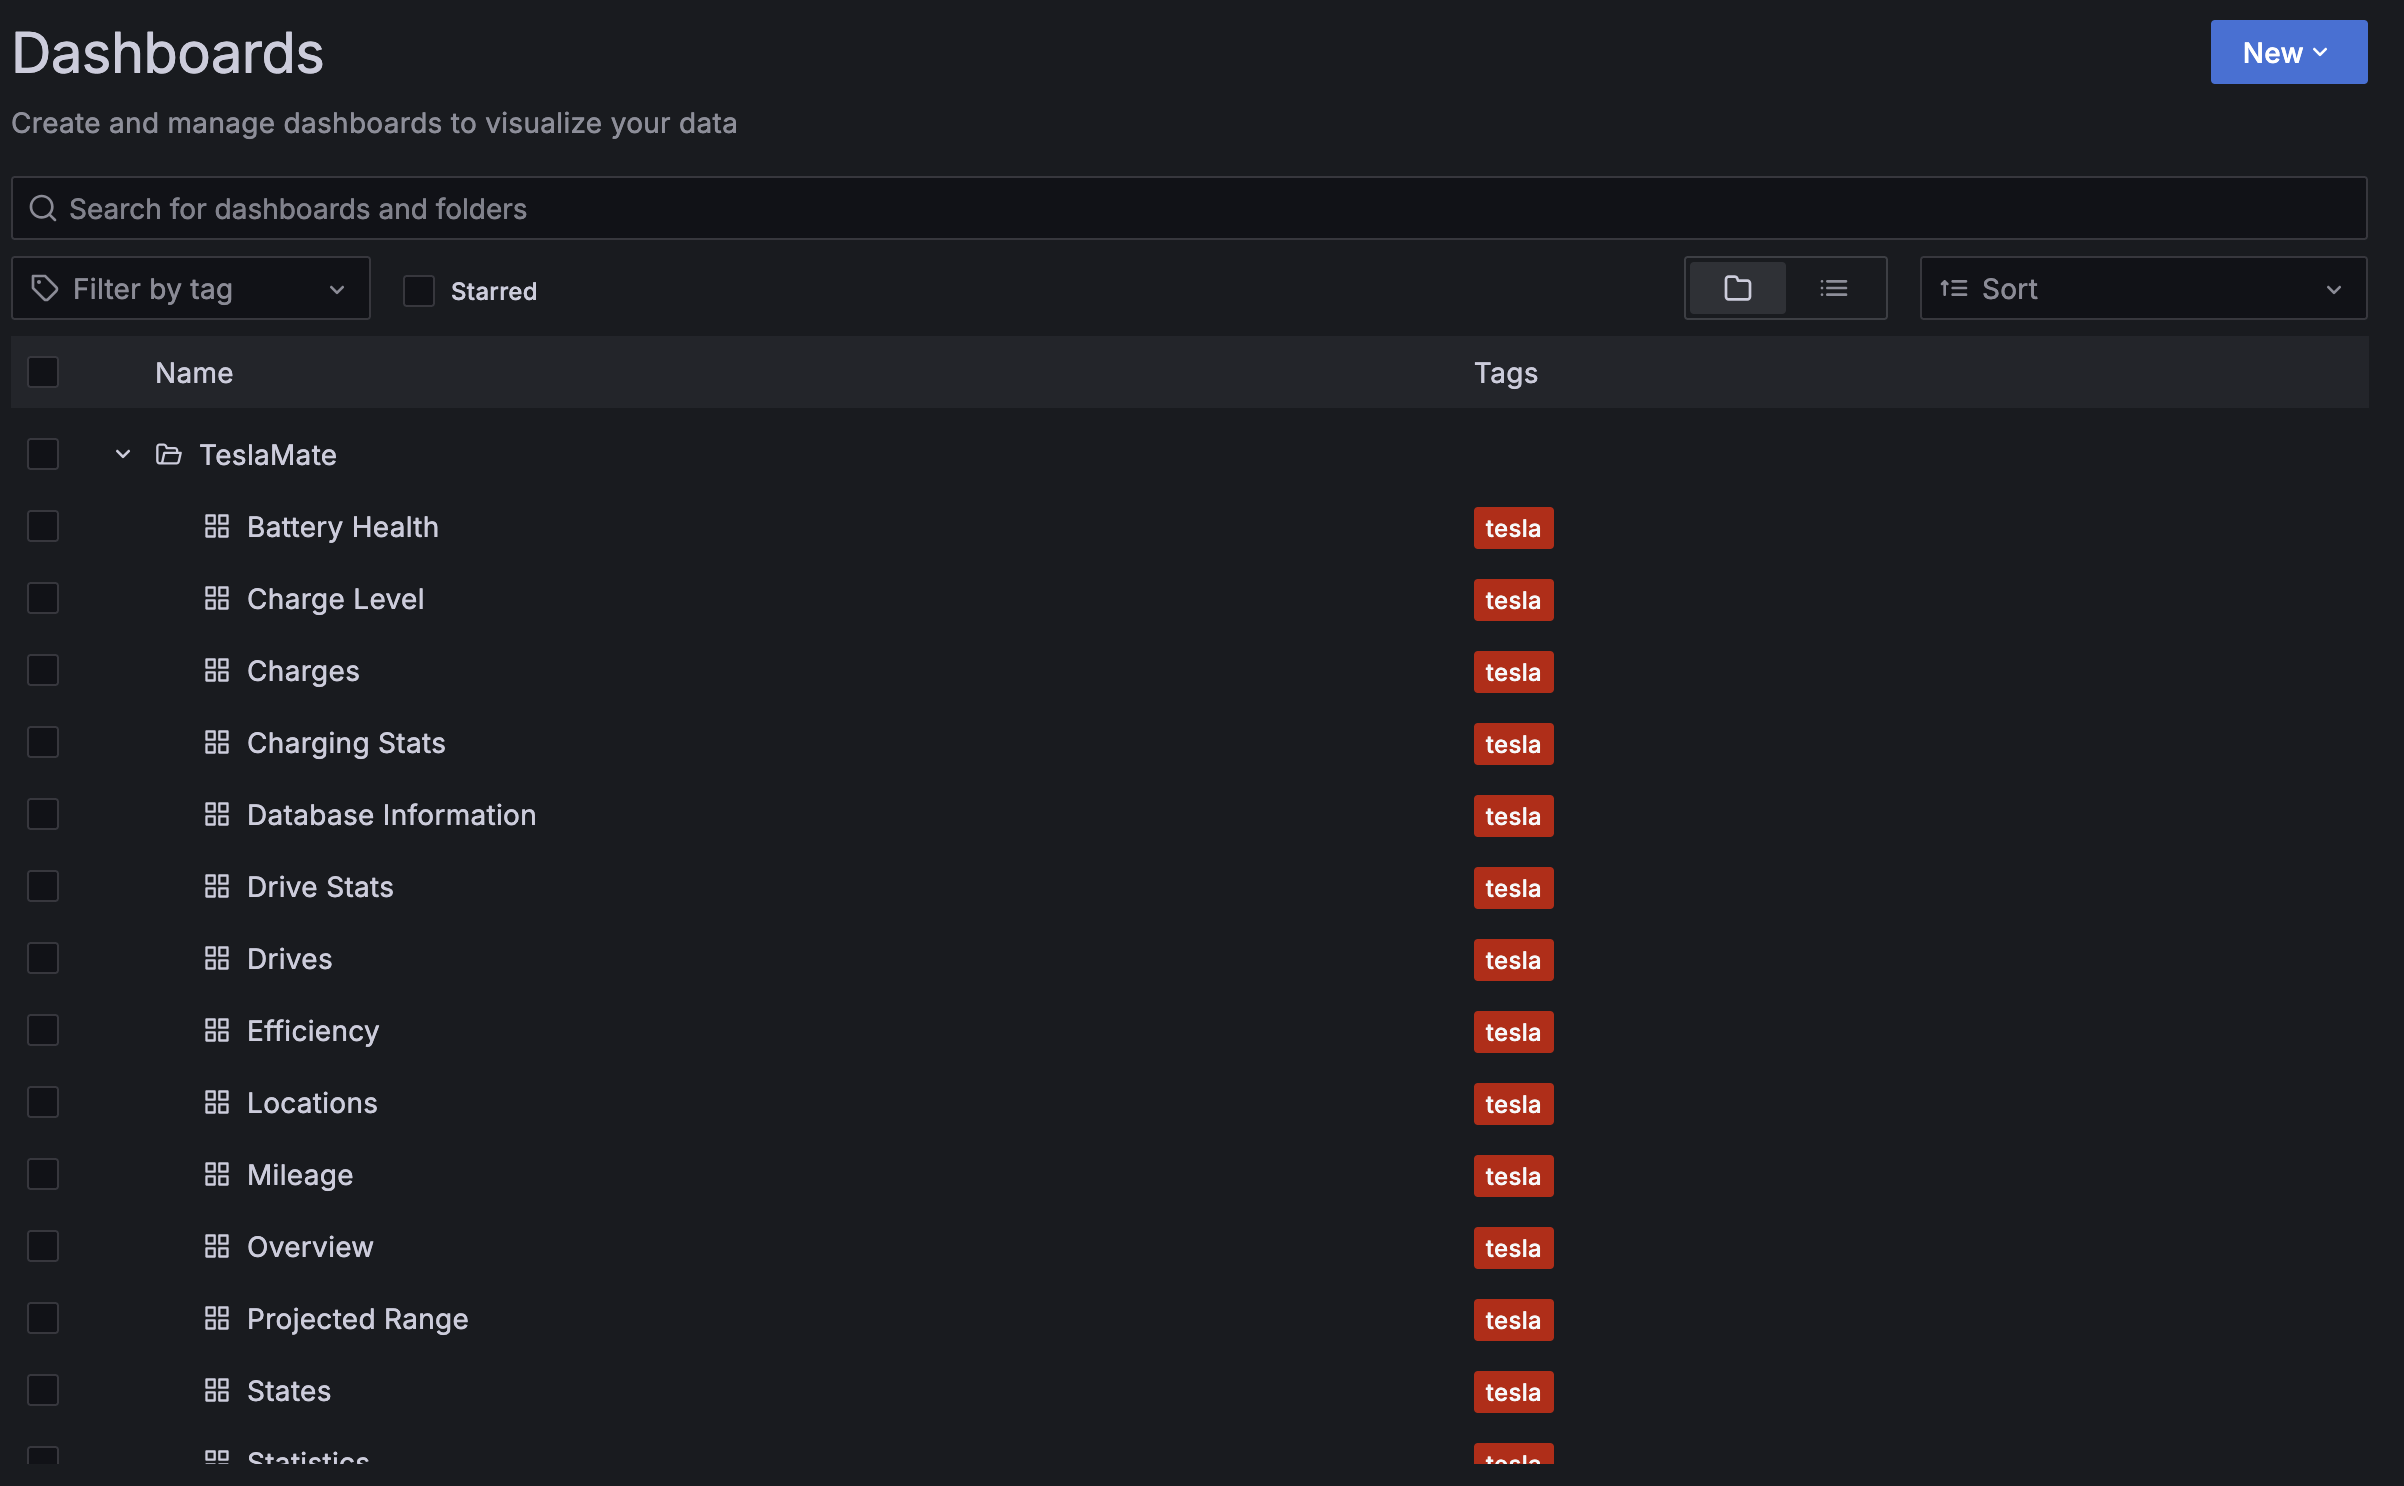
There's a ton of other dashboards too, for tracking all sorts of information about the car:
Raycast extension
A neat party trick is using the TeslaMate extension for Raycast to view your car info directly in Raycast. The only requirement is that your computer needs to be in the same Tailscale network as your TeslaMate instance.
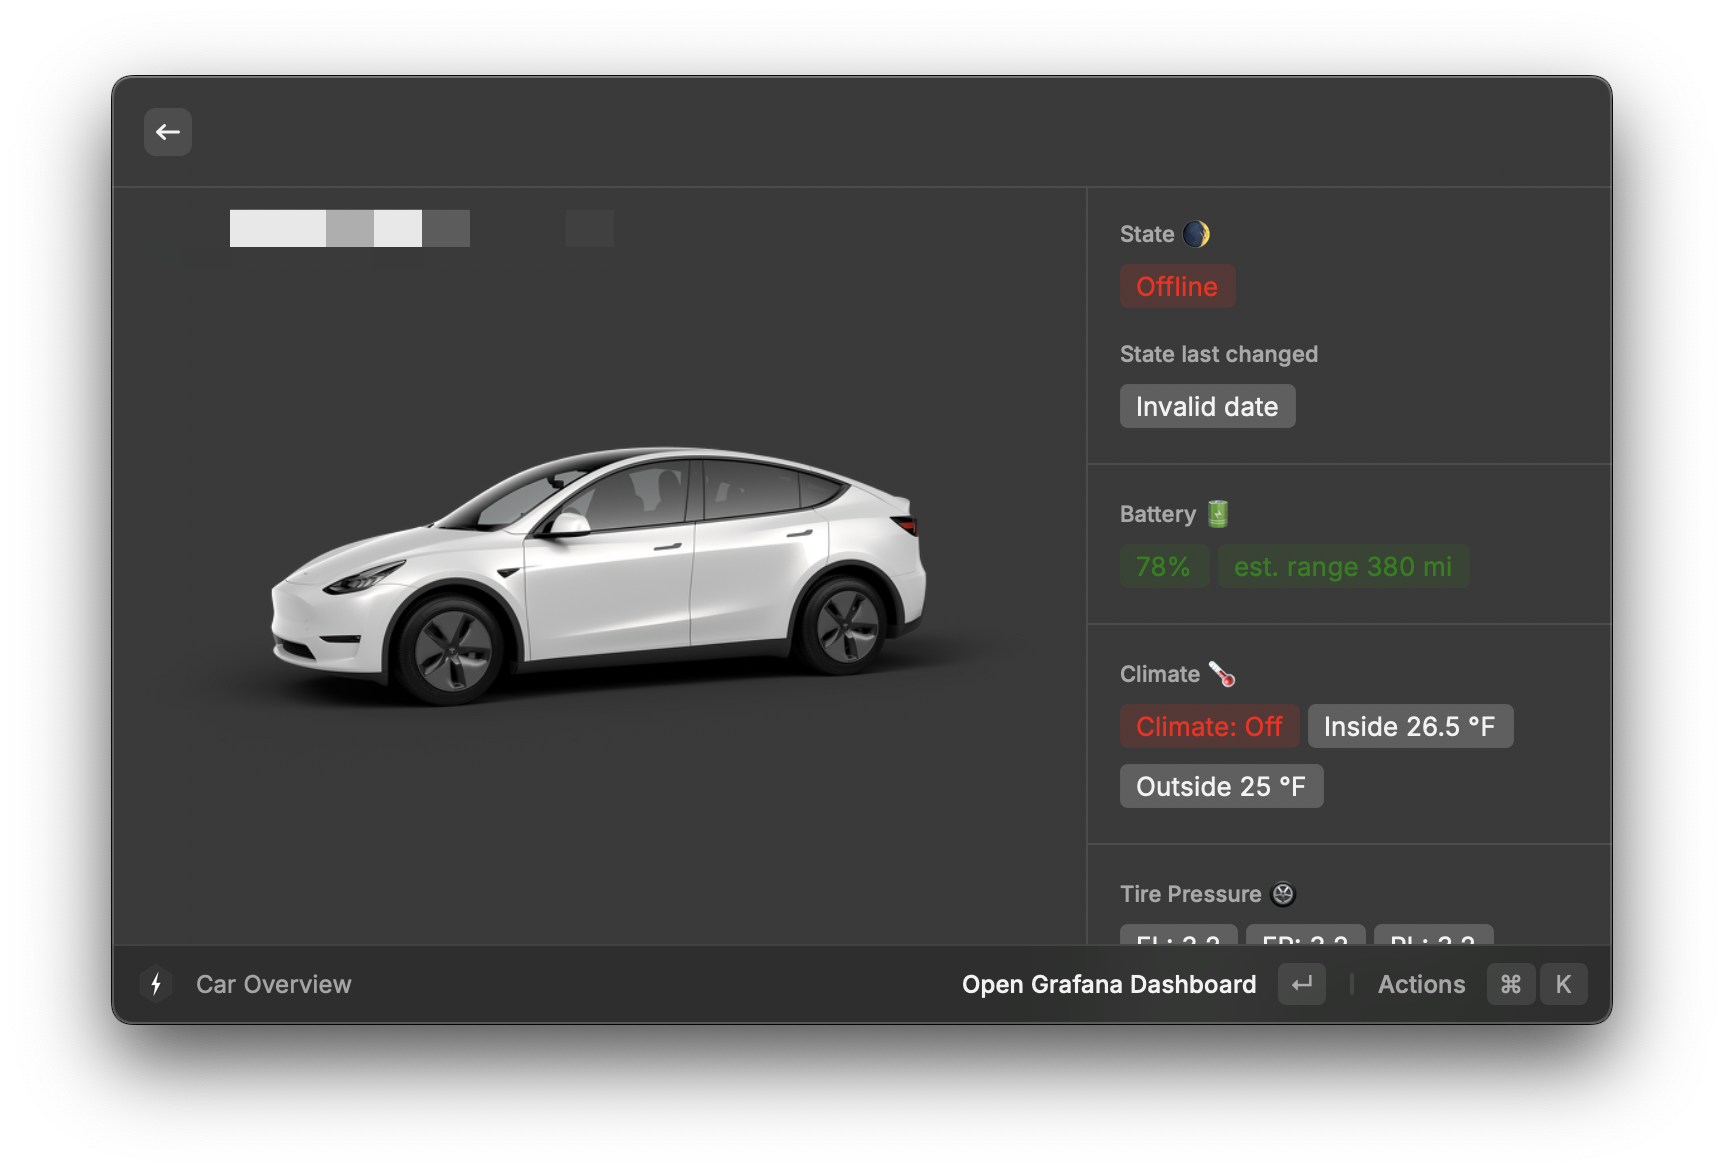
Note that a bunch of stuff here doesn't render correctly. It's on my list of things to look at - since all the extensions in Raycast are open source, I could contribute some bug reports or even fix them myself. For now, I care mostly about seeing the battery status - especially if I'm charging at work. It's awesome to have access to it from Raycast.
There's a bit of setup needed for this extension to work. Using the instructions in the Raycast extension docs, you can set up a Service Account Token and datasource UID:
How to create Service Account Token for Grafana

1. Go to your Grafana instance
2. In the left menubar click on Users and access
3. Click on Service accounts
4. Click on Add service account
5. Choose any Display name for your service account
6. Set service account role to Viewer
7. Click on Create
8. Click on Add service account token
9. Choose any Display name for your service account token
10. Set Expiration to No expiration
11. Copy your token to the TeslaMate Raycast Extension 🎉

How to get the UID of the datasource

1. Go to your Grafana instance
2. In the left menubar click on Connections -> Data sources
3. Click on the DB TeslaMate PostgreSQL
4. The URL should now show something like /connections/edit/Pxxxxxxxxx
5. The Pxxxxxxxxx is the UID of your data source - copy it to the TeslaMate Raycast Extension 🎉
Conclusion
It's fun to have API access to your car. TeslaMate takes a lot of the raw data out of the car and makes it available in a nice series of dashboards. It also can be run for free, using off-the-shelf Docker Compose scripts and the computers you probably already have running at home.
If you find this useful, or end up buying a Tesla... use my referral code!